
Old-Fashioned Butter Cookie Recipe
This Old Fashioned Butter Cookie Recipe will bake up a delicious rich-tasting, buttery, crispy, melt-in-your-mouth cookie. These cookies go perfect with a cup of coffee or a tall glass of milk!


WHY YOU WILL LOVE THIS RECIPE
- If you love the old-fashioned butter cookies from the blue tin, these will take you back and they’re even better!
- They are easy to mix up and prepare because they are a slice-and-bake cookie.
- This recipe has only three ingredients.
- It’s a delicious cookie to tuck into a lunchbox or grab for an afternoon snack.
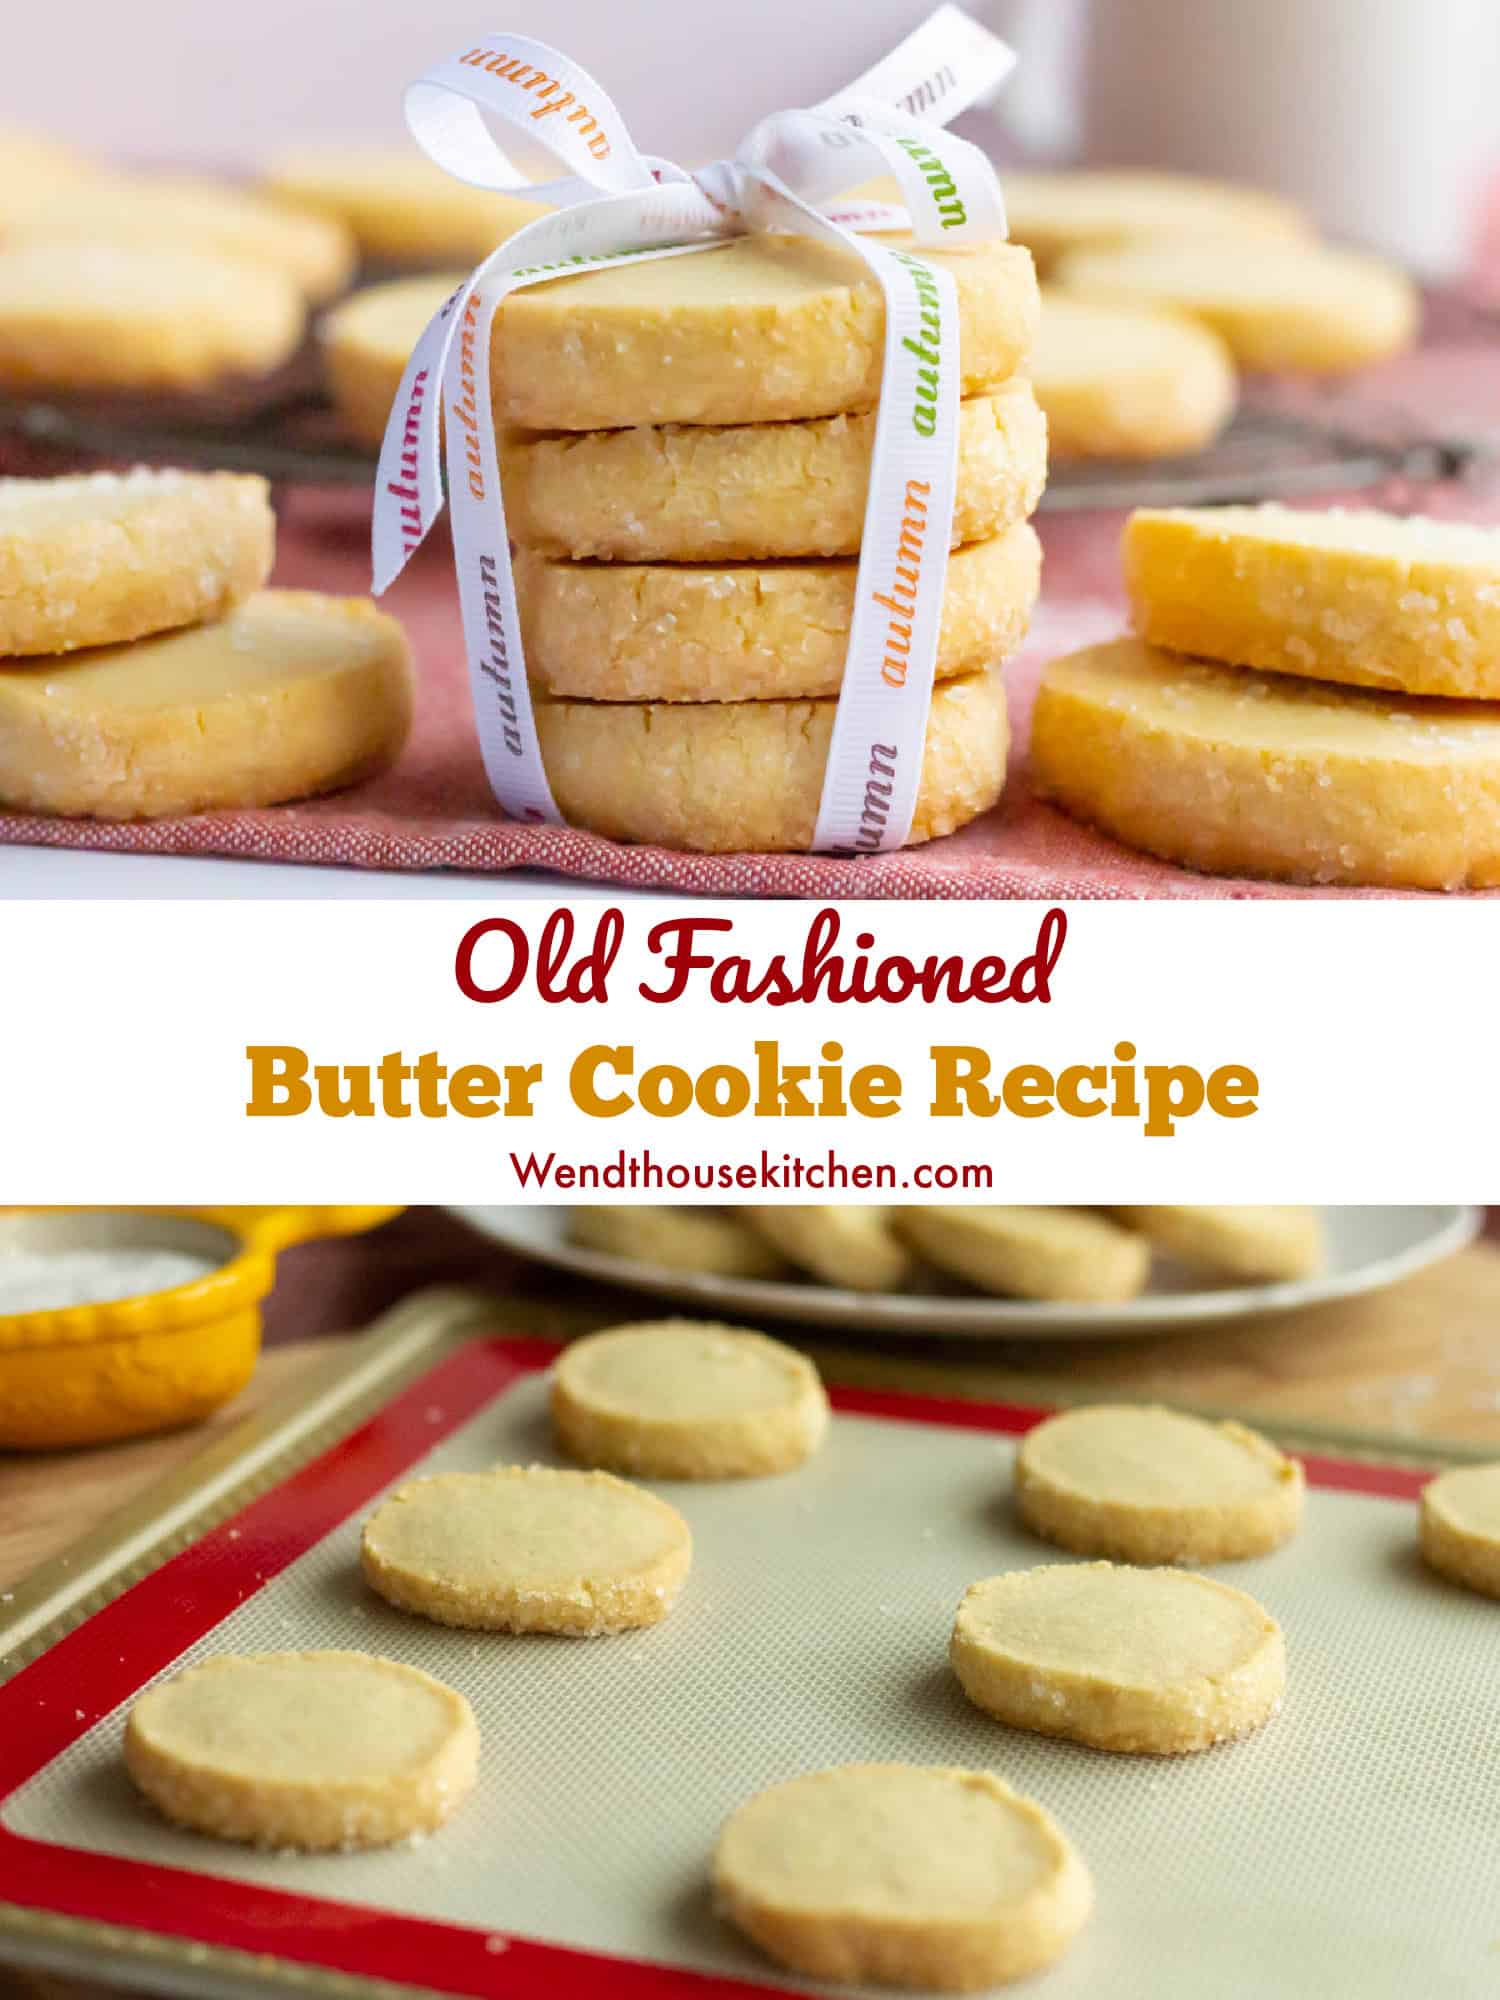
Ever since I was a little kid, I have always loved a good butter cookie. I always enjoyed those Danish butter cookies in the blue can. I just LOVE that buttery taste. Today I’m sharing this old-fashioned butter cookie recipe with you.
If you love a good butter cookie, you’re going to love this recipe! One of the things I like about making these cookies is that it’s a slice and bake method. You mix the dough, roll it into a log, refrigerate and then slice and bake. Easy!
With just three ingredients, here is what you will need:
INGREDIENTS

- butter, softened
- all-purpose flour
- sugar
- sanding sugar (optional)
See recipe card for quantities.
INSTRUCTIONS


Step 1: Beat butter and sugar in the bowl of a stand mixer or a large mixing bowl with a hand mixer on medium speed until butter is light and fluffy. Scrape down the bowl with a rubber spatula.


Step 2: Add the flour and beat on low increasing to medium until most of the flour is incorporated.
Step 3: Turn out ingredients onto a large piece of waxed paper and slowly mix in the remaining flour with your hands until completely combined. (The dough will be crumbly at first, but keep working the crumbs in with your hands until combined.)


Step 4: Roll the dough into a 15-inch log.
Step 5: If you’re using sanding sugar, sprinkle it all over the dough and carefully roll the log into the sugar on all sides until covered.
Step 6: Wrap dough in waxed paper and refrigerate for 30 minutes to an hour until firm.
Step 7: Preheat oven to 325° F.
Step 8: Line two cookie sheets with parchment or a Silpat baking mat and set aside. (You can skip this step if you do not have parchment or a Silpat. It just makes it a little easier to remove the cookies.)


Step 9: After dough is chilled, unwrap and slice into thick slices with a large sharp knife.
Step 10: Place cookies on cookie sheet about 1 inch apart. (I bake one cookie sheet at a time. I find the cookies bake evenly that way.)


Step 11: Bake cookies for 20 minutes or until just beginning to turn brown.
Step 12: Transfer cookies to a wire rack to cool. Enjoy!
Hint: Don’t underbake. You want your cookies to be slightly brown on the edges and crispy.
VARIATIONS
- Add 1 1/2 teaspoons of vanilla extract or 1/4 to 1/2 teaspoon of almond extract. If you want to add both, use 1 teaspoon of vanilla extract and 1/4 teaspoon of almond extract.
- Add 1-2 tablespoons of orange or lemon zest for different flavors.
- Use different colors of sanding sugars to suit the occasion or holiday.
- Use colored sprinkles on the outside of the dough instead of sanding sugar to change things up.
EQUIPMENT
- stand or hand mixer
- measuring cups and spoons
- 2 cookie sheets
- Silpat or parchment paper (Optional)
- Cooling grid
- rubber/silicone spatula
- cookie or regular spatula
- ruler or tape measure
STORAGE
Store cookies at room temperature in an airtight container or sealed food storage bag for up to one week. Metal tins are also perfect for storing these cookies.
Cookies can be frozen in a single layer on a tray. Then transfer to a freezer-safe bag or airtight container. They can be frozen for up to 3 months. Bring to room temperature before serving.
Unbaked dough log can be wrapped tightly in plastic wrap and foil (or a freezer bag) and stored in the freezer for up to 2 months. You can defrost and bake or slice and bake frozen, adding 1-2 extra minutes to the baking time.
TOP TIPS
- When slicing cookie dough and it’s firm from chilling and/or you are using sanding sugar, I recommend a sharp, serrated knife. The saw-like motions help cut through the dough without squishing the log or causing too much of the sugar to come off.
- If your dough is slightly chilled and a little soft, I would recommend a sharp, smooth knife for neat edges.
RELATED
- For other cookie recipes, visit my cookie recipe page!

Old-Fashioned Butter Cookie Recipe
- stand or hand mixer
- measuring cups and spoons
- 2 cookie sheets
- Silpat or parchment paper (Optional)
- Cooling grid
- Rubber/silicone spatula
- cookie or regular spatula
- ruler or tape measure
- 3/4 cup (169g) unsalted butter, softened
- 1/2 cup (99g) granulated sugar
- 2 1/4 cups (270g) all-purpose flour
- 1/2 cup (114g) sanding sugar, optional
- Beat butter and sugar in the bowl of a stand mixer or a large mixing bowl with a hand mixer on medium speed until butter is light and fluffy. Scrape down the bowl with a rubber spatula.
- Add the flour and beat on low increasing to medium until most of the flour is incorporated.
- Turn out ingredients onto a large piece of waxed paper and slowly mix in the remaining flour with your hands until completely combined. (The dough will be crumbly at first, but keep working the crumbs in with your hands until combined.)
- Roll the dough into a 15-inch log.
- If you’re using sanding sugar, sprinkle it all over the dough and carefully roll the log into the sugar on all sides until covered.
- Wrap dough in waxed paper and refrigerate for 30 minutes to an hour until firm.
- Preheat oven to 325° F.
- Line two cookie sheets with parchment or a Silpat baking mat and set aside. (You can skip this step if you do not have parchment or a Silpat. It just makes it a little easier to remove the cookies.)
- After dough is chilled, unwrap and slice into thick slices with a large sharp knife.
- Place cookies on cookie sheet about 1 inch apart. (I bake one cookie sheet at a time. I find the cookies bake evenly that way.)
- Bake cookies for 20 minutes or until just beginning to turn brown.
- Transfer cookies to a wire rack to cool. Enjoy!

A good tried and true butter cookie recipe is a must for your recipe stash. A crisp butter cookie has always been one of my favorites. These are so good to have as a snack with an afternoon cup of coffee. I hope you enjoy them as much as I do!
Sweet regards,
Michele

My daughter loves the cookies from the tin so we made these to see if I can save money. Sure enough, she loves these butter cookies, more that the ones in the can.
So glad to hear that! I have always loved the ones in the tin myself. That’s why I decided to make a recipe we could all enjoy!
My next Tea Party is soon arriving. I cant wait to try these melt in the mouth cookies. Definitely super delicious.
Thank you Veena! I hope you love them!
These cookies were perfect! Melt in your mouth delicious and so easy to make. Thank you
1
I’m so happy to hear that you liked them. One of our favorites for sure!
Butter cookies have always been my favorite since I was a little girl. My mom made them for Christmas but I could have these all year long! So soft and melt in your mouth – I can’t seem to stop eating them.
Thank you Linda! I also have trouble being able to stop eating them. So glad you liked them!
I loved how simple these were to make and they tased like the cookies I ate growing up! So good!
Thank you for your sweet comment! I’m so happy you enjoyed this recipe.
These cookies are wonderful! They’re perfectly buttery with those crisp edges I just love. I’ll definitely have to put these in some cookie boxes over the holidays.
Thank you! I agree. I think they would make a wonderful addition holiday for gifts.
I made these cookies yesterday and they came out amazing! Going to add this recipe to my favorite Christmas cookies folder 😉
I love butter cookies for the holidays but lost my mom’s recipe and am glad I found this. They tasted just like hers so I plan to make a big batch for Thanksgiving dessert. Thanks for the recipe!
I’m sorry to hear that you lost your mom’s recipe, but I’m so glad you liked my recipe. Happy Thanksgiving!
I loved these cookies! My kids “painted” them for a cookie fundraiser and they were a hit- all sold out! Definitely a recipe to keep.
That’s awesome! How fun. We love decorating cookies too. ;-D
I must say these are the best sugar cookies I’ve ever had. They melt in your mouth. Simply delicious. Thanks for sharing the recipe.
You’re so welcome! I’m glad you loved them. 😀