Strawberry Crunch Cake
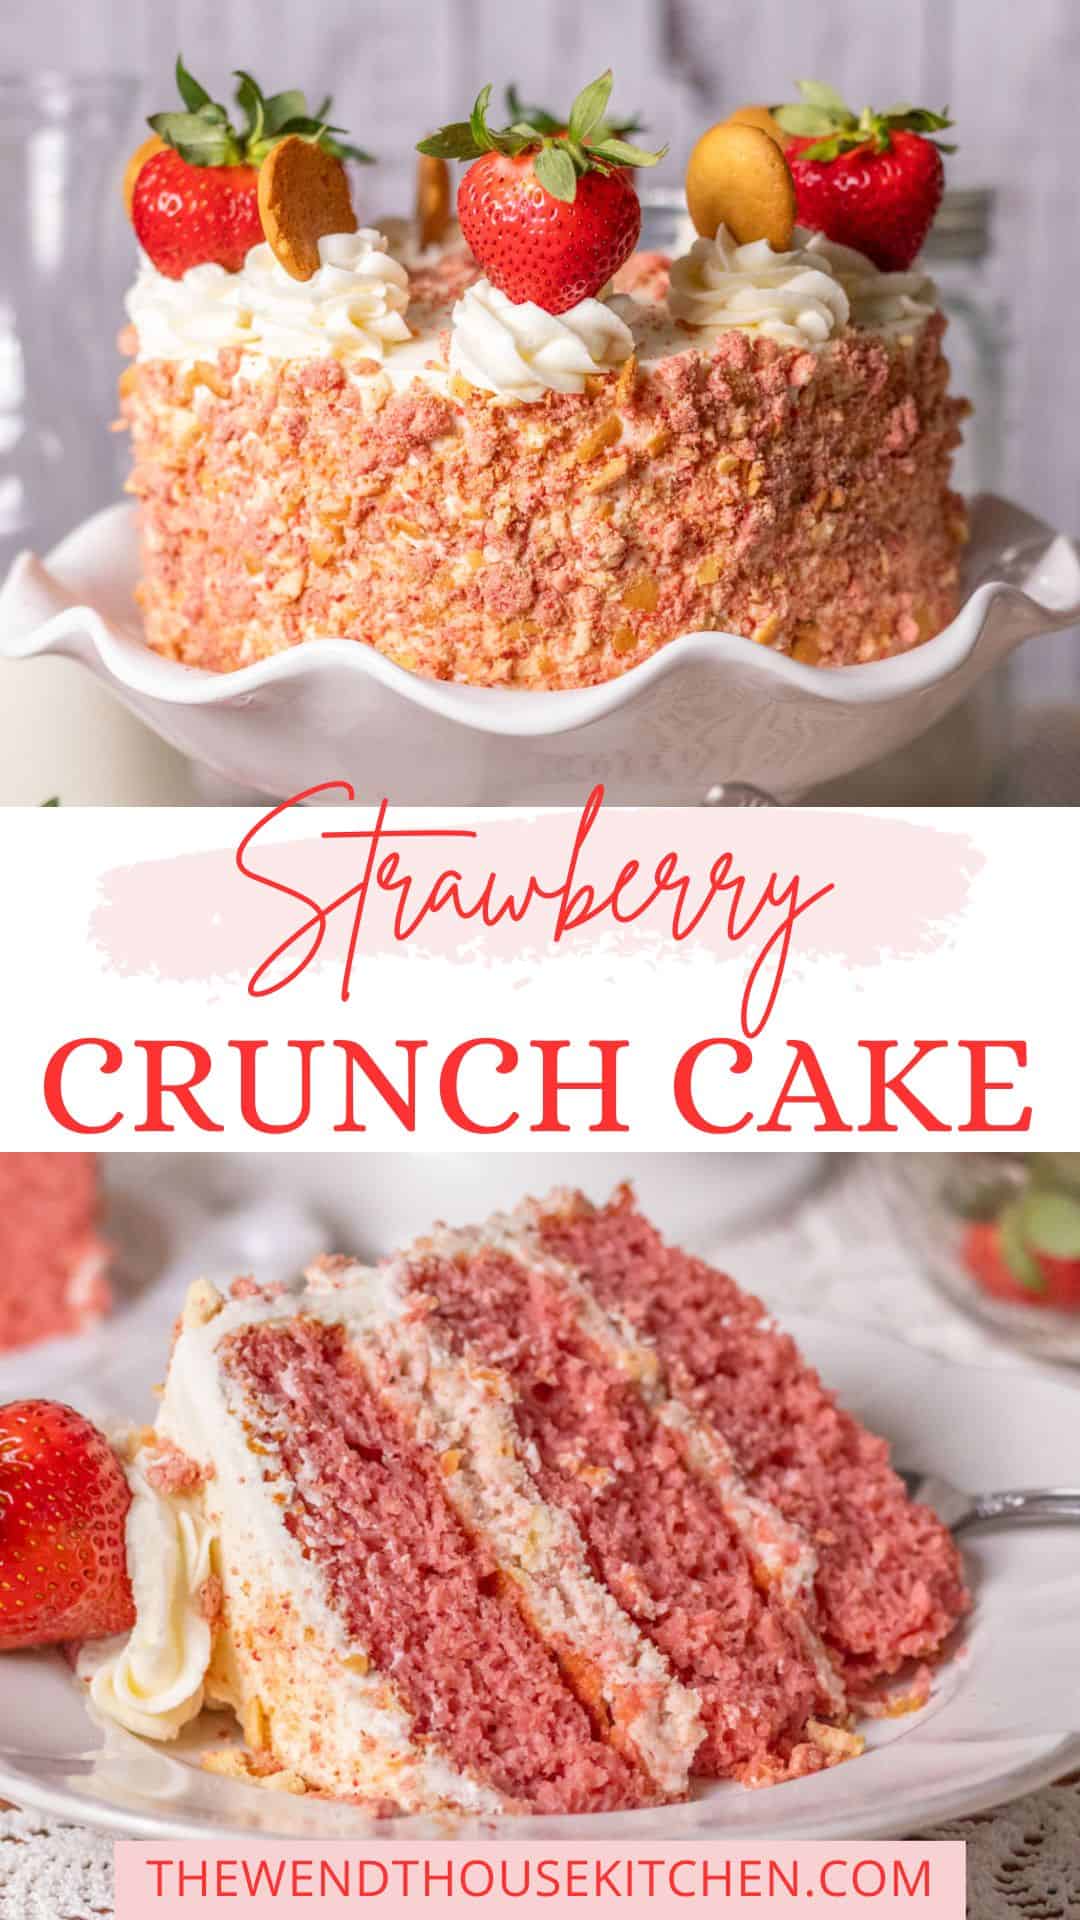
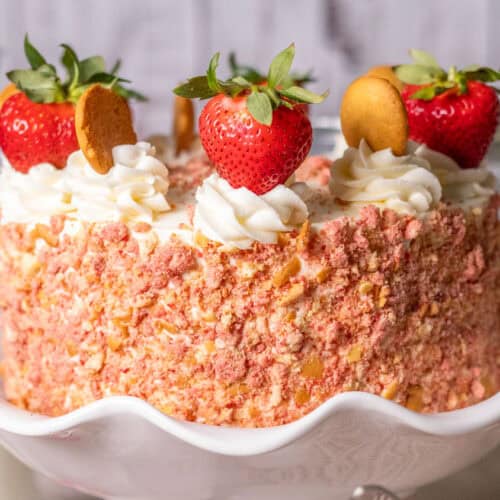
Strawberry Crunch Cake is made up of layers of soft strawberry cake, filled and frosted with a rich all-butter buttercream and coated inside and out with sweet strawberry crunchies – just like those classic Good Humor bars. Creamy, crunchy and completely irresistible.


Why You Will Love This Recipe
- Big strawberry flavor in every single bite.
- That satisfying crunch against creamy buttercream is absolutely addictive.
- Easy to decorate because the strawberry crunchies do all the work for you!
- A total showstopper that looks like it came straight from the bakery.
If you have ever had a strawberry shortcake Good Humor ice cream bar, then you’re going to love this Strawberry crunch cake! Moist layers of strawberry cake filled and frosted with homemade buttercream and coated with strawberry crunchies make up this showstopper.
I couldn’t be more pleased with how this cake turned out. It does have a couple of steps, but they are well worth it and the cake is not hard to make overall. I’m going to show you step-by-step. Let’s go!
For the strawberry crunchies:
Ingredients

- vanilla wafers cookies
- freeze-dried strawberries or strawberry Jello mix
- white chocolate chips
- salt (not pictured)
See recipe card for quantities.
Instructions


Step 1: Crush up vanilla wafers inside of a large, sealed food storage bag with a rolling pin. (I do it this way because I get different sizes of crushed cookies, rather than just making them into crumbs in a food processor.)
Step 2: Add freeze-dried strawberries to a food processor or blender and grind until you have a fine powder.


Step 3: Mix crushed vanilla wafers, strawberry powder and salt in a medium-sized mixing bowl.


Step 4: Melt white chocolate chips in a glass measuring cup or bowl in 20-second increments until melted, stirring in between.
Step 5: Add melted white chocolate to vanilla wafers, strawberry powder and salt and stir together until no more melted chocolate is visible.


Step 6: Add an extra 1/2 cup of vanilla wafers to strawberry crunchies and stir together.
For the strawberry cake:
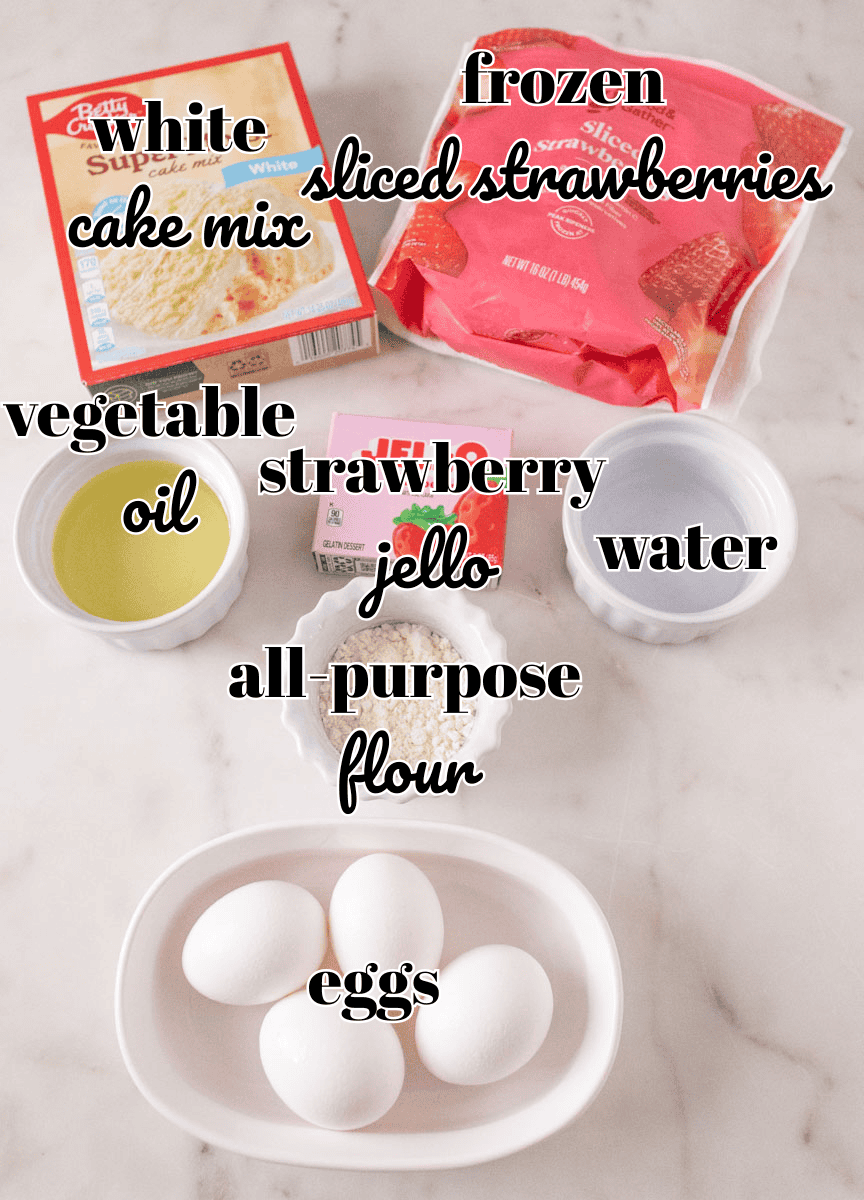
Ingredients
- cake release or vegetable shortening for greasing and flouring the pans (not pictured)
- white cake mix
- all-purpose flour
- strawberry Jello mix or freeze-dried strawberry powder. (If you use strawberry powder, I recommend adding a little bit of red food color if you want your cake to be pink. It tends to come out brown with the strawberry powder.)
- frozen, sliced strawberries, defrosted
- vegetable oil (I use canola)
- water
- eggs
See recipe card for quantities.
Instructions


Step 1: Preheat oven to 350°F.
Step 2: Grease the bottom and sides of your cake pans with cake release or grease with vegetable shortening and then dust with flour. (You can also use two 8 or 9-inch round cake pans instead of three.)


Step 3: Add defrosted strawberries to a food processor or blender and purée until smooth.
Step 4: Add cake mix, all-purpose flour, strawberry Jello mix, vegetable oil, water, eggs and strawberry purée to the bowl of a stand mixer or a large mixing bowl to use a hand mixer.


Step 5: With a paddle attachment, beat on low for 30 seconds and scrape down the sides of the bowl. Continue beating on medium speed for 2 minutes.
Step 6: Pour the batter evenly into the three prepared cake pans. Bake for 20 minutes until a toothpick inserted into the center comes out with a few crumbs attached.
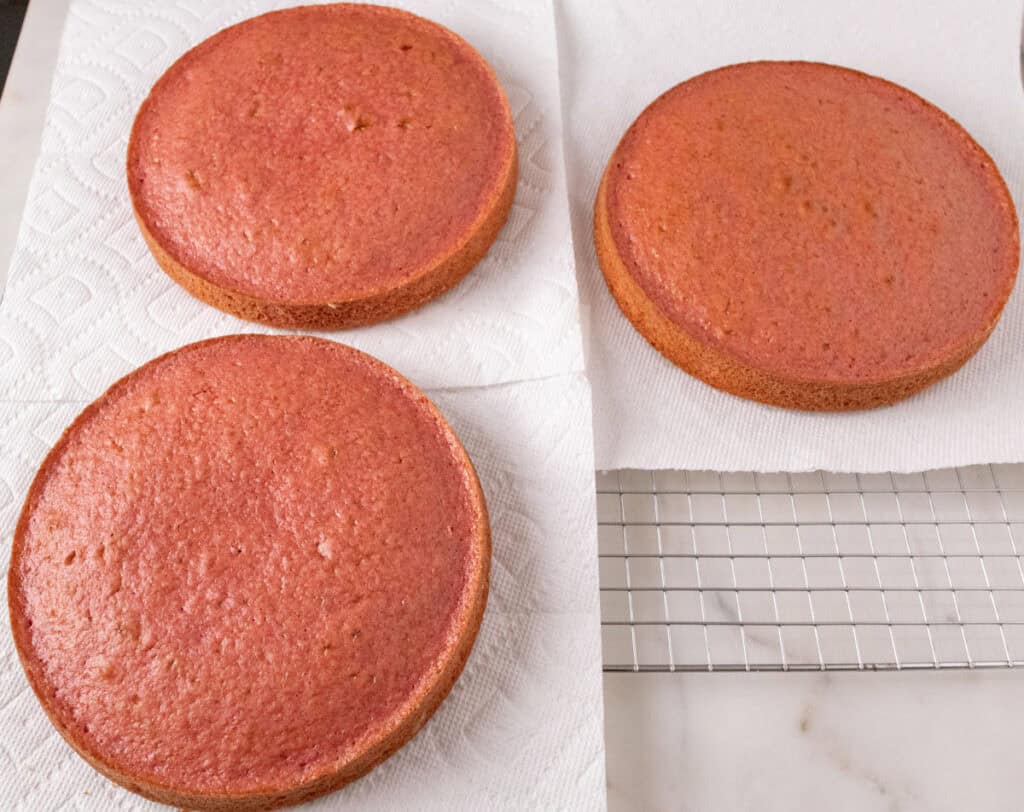
Step 7: Remove cakes from oven and let cool in the pans for 10 minutes.
Step 8: Loosen the sides of the cake with a small cake spatula or butter knife and turn out onto a wire cooling grid. (I like to line the grid with paper towels so the cake will peel off of the paper towels instead of sticking to the grids.) Let cool for 1 hour until completely cooled.
For the buttercream:
Ingredients
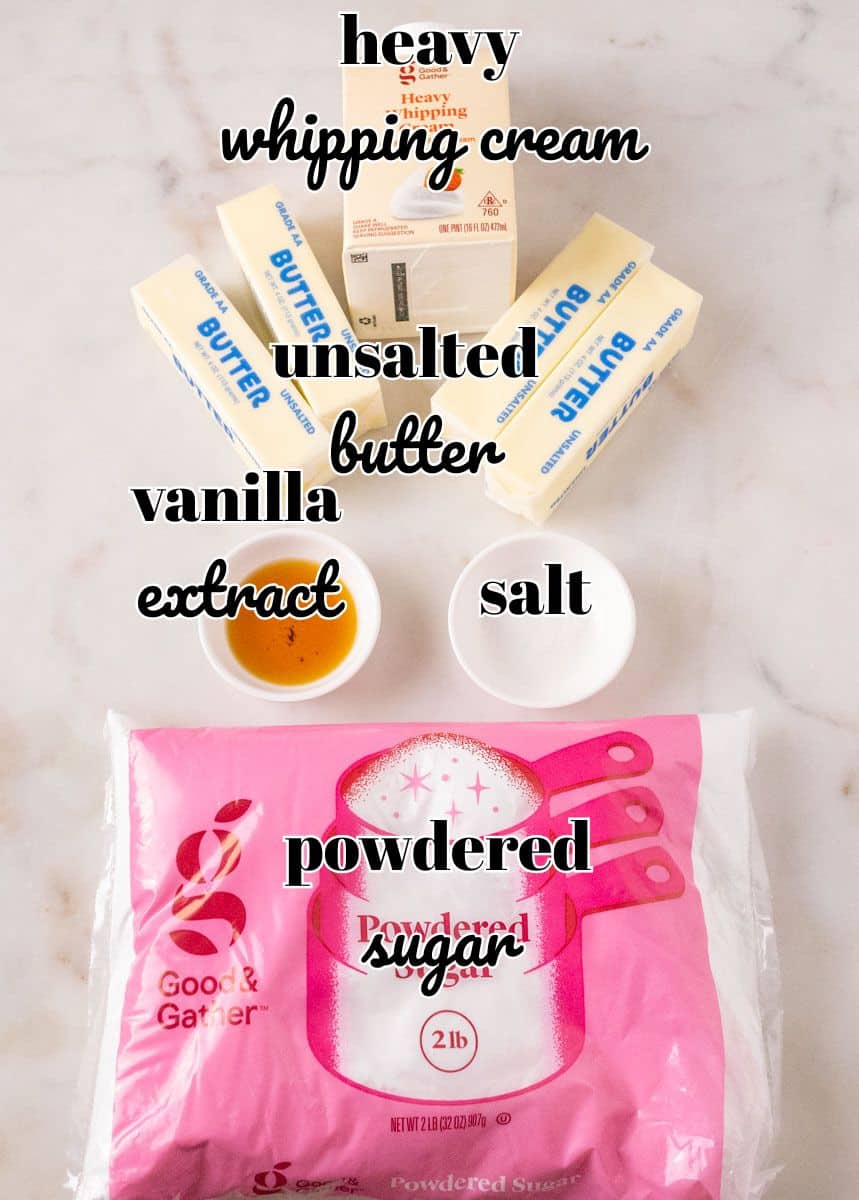
- unsalted butter, softened
- powdered sugar
- fine sea salt
- heavy whipping cream
- vanilla extract
See recipe card for quantities.
Instructions


Step 1: In the bowl of a stand mixer with a paddle attachment, or a large mixing bowl using a hand mixer, beat butter for 4-5 minutes until very pale, fluffy and almost mousse-like. Scrape down the sides of the bowl as needed.


Step 2: Add powdered sugar 1-2 cups at a time, beating well between additions. Add the salt with the sugar.
Step 3: Add heavy whipping cream 1 teaspoon at a time until the buttercream is not too thick and spreadable.
Step 4: Add vanilla extract and beat until combined.
Putting the cake together


Step 1: Mix together 1 cup strawberry crunchies and 2 cups of buttercream in a mixing bowl.


Step 2: Place an 8-inch acrylic cake circle or an 8-inch cake board onto a cake turntable. (If you don’t have either, you can place the cake onto a large plate or cake pedestal. It may be harder to add the crumbs onto the sides of the cake, but it depends how decorative you want to be.)


Step 3: Lightly frost the top of the cake with plain buttercream.
Step 4: Add half of the buttercream and strawberry crunchies mixture to the cake and spread evenly.
Step 5: Repeat with the next cake layer. Add the last cake layer on top.


Step 6: Spread a crumb coat layer of buttercream onto the cake and refrigerate for 30 minutes. (Or place in the freezer for 15 minutes.) Chilling the cake will make it easier to frost.
Step 7: Once the cake is chilled, frost with buttercream. It doesn’t have to be perfect because you will be adding the crumbs to the sides of the cake.


Step 8: Place a large roasting pan or large plastic container next to the cake. You will want something large to catch the strawberry crunchies as they fall.
Step 9: Using a large spatula or cake lifter, lift cake off of the cake turntable. Place your hand underneath to support the cake and set the cake lifter aside. Holding the cake with one hand over your pan, use your other hand to pick up strawberry crunchies and lightly press onto the sides of the cake.
You will see some naked spots on your cake. Go ahead and patch your bare areas with more crunchies until it looks covered all around.


Step 10: Using a 1M piping tip, pipe buttercream swirls around the top of the cake about an inch apart. Add fresh strawberries and vanilla wafers to the swirls. Sprinkle extra strawberry crunchies to the top of the cake.
Step 11: Serve and enjoy!
Hint: Don’t chill the cake after the final frosting and smoothing. You want the buttercream to be tacky so the strawberry crunchies stick to it.
Variations
- Strawberry crunch cupcakes: Make cupcakes instead of cake, frost with the buttercream and sprinkle strawberry crunchies on top. Bake cupcakes for 15-20 minutes until a toothpick inserted into the center has a few crumbs attached.
- Strawberry crunch sheet cake: Bake cake in a 9 x 13-inch cake pan or baking dish, frost with buttercream frosting and top with strawberry crunchies. You may need to bake the cake for 20-30 minutes until a toothpick inserted into the center has a few crumbs attached.
- Strawberry crunch no-bake cheesecake: Make a no-bake cheesecake and spread strawberry crunchies on top.
Equipment
- 3 round cake pans, 8 or 9-inch (Or you can use two pans. The cakes will just be thicker.)
- pastry brush
- large resealable food storage bags
- rolling pin
- measuring cups and spoons
- 1 or 2-cup glass measuring cup or small glass bowl
- food processor or blender
- stand or hand mixer or large spoon
- medium-size mixing bowl
- large mixing bowl if not using a stand mixer
- rubber or silicone spatula
- cooling grid
- paper towels
- small and large offset spatula
- 8 or 9-inch acrylic cake disk or cake circle (optional, but it makes it easier to hold the cake when you’re applying the strawberry crunchies)
- cake turntable, optional
- large roasting pan or plastic container (to catch the strawberry crunchies)
- 1M piping tip and piping bag, optional
- large spatula or cake lifter, optional
Storage
Refrigerator: Store strawberry crunch cake in a covered cake carrier or loosely tent with plastic wrap for up to 2-3 days in the refrigerator. The first 24 hours is when the cake will maintain most of its crunch.
Remove cake from the refrigerator 30-45 minutes before serving. The buttercream softens a little, the cake texture improves and the strawberry flavor becomes stronger.
Freezer: Best method – Freeze cake without the crunch coating. Frost cake completely, chill until firm, wrap tightly in plastic wrap, wrap again in foil or place in an airtight container and freeze for up to 2 months.
Freeze cake with crunch coating (may not stay crunchy)- Freeze cake uncovered for 30-60 minutes first (to firm coating). Wrap cake gently in plastic wrap, wrap again in foil or place in an airtight container. Freeze up to 1 month for best texture.
To thaw: Move cake to refrigerator overnight, bring to room temperature for 30-45 minutes before serving. (Save a little extra crunch in an airtight container at room temperature so you can sprinkle fresh crumbs on the cake after thawing.)
Related
For some other delicious strawberry recipes, check out my strawberry cheesecake bars and my strawberry sauce recipe. Perfect for spring and summer!
For my other cake recipes, visit my cake page!
Strawberry cake recipe adapted from Paula Deen.
Strawberry Crunch Cake
- 3 round cake pans, 8 or 9-inch (Or you can use two pans. The cakes will just be thicker.)
- pastry brush
- large resealable food storage bags
- Rolling Pin
- measuring cups and spoons
- 1 or 2-cup glass measuring cup or small glass bowl (for melting white chocolate chips)
- food processor or blender
- stand or hand mixer or large spoon
- medium-size mixing bowl
- large mixing bowl if not using a stand mixer
- rubber or silicone spatula
- Cooling grid
- paper towels
- small and large offset spatula
- 8 or 9-inch acrylic cake disk or cake circle (optional, but it makes it easier to hold the cake when you’re applying the strawberry crunchies)
- cake turntable (optional)
- large roasting pan or plastic container (to catch the strawberry crunchies)
- 1M piping tip and piping bag, optional
- large spatula or cake lifter, optional
For the strawberry crunchies
- 2 cups (160g) vanilla wafers cookies
- 3 tbsp (18g) freeze-dried strawberry powder (You can also use strawberry Jello mix instead.) I used a 2.5 oz bag of freeze-dried strawberries and it yielded 1/2 cup.
- 4 oz (113g) white chocolate chips (About 2/3 – 3/4 cup)
- 1 pinch salt
For the strawberry cake
- cake release or vegetable shortening for greasing and flouring the pans
- 14.25 oz (403 g) white cake mix (I always use Betty Crocker)
- 3 tbsp (8g) all-purpose flour
- 3 oz (85g) strawberry Jello mix or freeze-dried strawberry powder (If you use strawberry powder, I recommend adding a little bit of red food color if you want your cake to be pink. It tends to come out brown with the strawberry powder.)
- 16 oz (454g) frozen, sliced strawberries (defrosted)
- 1/2 cup (99g) vegetable oil (I use canola)
- 1/4 cup (56g) water
- 4 large eggs
For the buttercream
- 2 cups (452g) unsalted butter, softened 4 sticks
- 8 cups (904g) powdered sugar (7-8 cups, depending on how you want the consistency.)
- 1/4 tsp (1.5g) fine sea salt
- 2 tbsp (30g) heavy whipping cream (2-3 tbsp, depending on the consistency)
- 1 tbsp (15g) vanilla extract
For the strawberry crunchies
- Crush up vanilla wafers inside of a large, sealed food storage bag with a rolling pin. (I do it this way because I get different sizes of crushed cookies, rather than just making them into crumbs in a food processor.)
- Add freeze-dried strawberries to a food processor or blender and grind until you have a fine powder.
- Mix crushed vanilla wafers, strawberry powder and salt in a medium-sized mixing bowl.
- Melt white chocolate chips in a glass measuring cup or bowl in 20-second increments until melted, stirring in between.
- Add melted white chocolate to vanilla wafers, strawberry powder and salt and stir together until no more melted chocolate is visible.
- Add an extra 1/2 cup of vanilla wafers to strawberry crunchies and stir together.
For the strawberry cake
- Preheat oven to 350°F.
- Grease the bottom and sides of three 8-inch round cake pans with cake release or grease with vegetable shortening and then dust with flour. (You can also use two 8 or 9-inch round cake pans.)
- Add defrosted strawberries to a food processor or blender and purée until smooth.
- Add cake mix, all-purpose flour, strawberry Jello mix, vegetable oil, water, eggs and strawberry purée to the bowl of a stand mixer or a large mixing bowl to use a hand mixer.
- With a paddle attachment, beat on low for 30 seconds and scrape down the sides of the bowl. Continue beating on medium speed for 2 minutes.
- Pour the batter evenly into the three prepared cake pans. Bake for 20 minutes until a toothpick inserted into the center comes out with a few crumbs attached.
- Remove cakes from oven and let cool in the pans for 10 minutes.
- Loosen the sides of the cake with a small cake spatula or butter knife and turn out onto a wire cooling grid. (I like to line the grid with paper towels so the cake will peel off of the paper towels instead of sticking to the grids.) Let cool for 1 hour until completely cooled.
For the buttercream
- In the bowl of a stand mixer with a paddle attachment, or a large mixing bowl using a hand mixer, beat butter for 4-5 minutes until very pale, fluffy and almost mousse-like. Scrape down the sides of the bowl as needed.
- Add powdered sugar 1-2 cups at a time, beating well between additions. Add the salt with the sugar.
- Add heavy whipping cream 1 teaspoon at a time until the buttercream is not too thick and spreadable.
- Add vanilla extract and beat until combined.
Putting the cake together
- Mix together 1 cup strawberry crunchies and 2 cups of buttercream in a mixing bowl.
- Place an 8-inch acrylic cake circle or an 8-inch cake board onto a cake turntable. (If you don’t have either, you can place the cake onto a large plate or cake pedestal. It may be harder to add the crumbs onto the sides of the cake, but it depends how decorative you want to be.)
- Lightly frost the top of the cake with plain buttercream.
- Add half of the buttercream and strawberry crunchies mixture to the cake and spread evenly.
- Repeat with the next cake layer. Add the last cake layer on top.
- Spread a crumb coat layer of buttercream onto the cake and refrigerate for 30 minutes. (Or place in the freezer for 15 minutes.) Chilling the cake will make it easier to frost.
- Once the cake is chilled, frost with buttercream. It doesn’t have to be perfect because you will be adding the crumbs to the sides of the cake.
- Place a large roasting pan or large plastic container next to the cake. You will want something large to catch the strawberry crunchies as they fall.
- Using a large spatula or cake lifter, lift cake off of the cake turntable. Place your hand underneath to support the cake and set the cake lifter aside. Holding the cake with one hand over your pan, use your other hand to pick up strawberry crunchies and lightly press onto the sides of the cake.You will see some naked spots on your cake. Go ahead and patch your bare areas with more crunchies until it looks covered all around.
- Using a 1M piping tip, pipe buttercream swirls around the top of the cake about an inch apart. Add fresh strawberries and vanilla wafers to the swirls. Sprinkle extra strawberry crunchies to the top of the cake.
- Serve and enjoy!

This strawberry crunch cake is such a gorgeous cake, but it’s even more delicious. There’s a crunch in every strawberry bite! This is a lovely cake for Valentine’s Day, Mother’s Day or any spring or summer gathering. Let me know if you try it. I love to hear from you!
Sweet regards,
Michele