Lemon Cake Pops
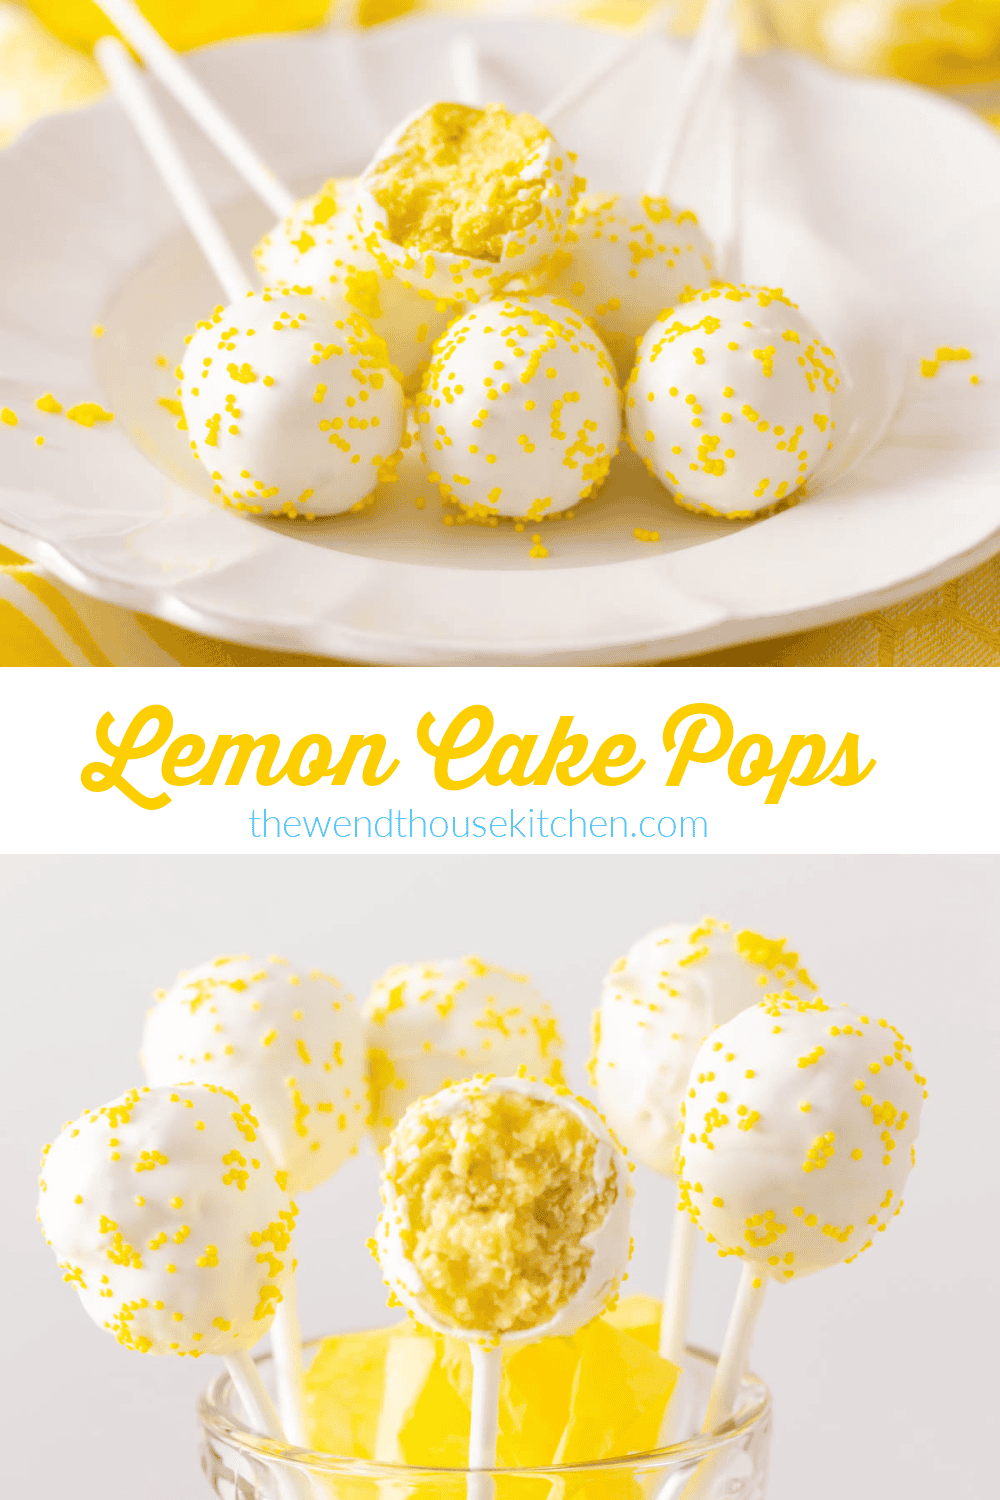
These Lemon Cake Pops are delicious little morsels of fun that are bursting with lemon flavor. They are perfect for any party or gathering and they will disappear quickly!


My lemon cake pops are addictive little balls of happiness on a stick. When I set out to make lemon cake pops, I knew I wanted the lemon flavor to stand out. I promise you, you will taste a burst of lemon in every bite!
Cake pops are basically crumbled cake mixed with a little bit of frosting and shaped into balls. Then the balls are dipped into candy melts and decorated with your favorite sprinkles.
Don’t underestimate the simplicity of these little lemon balls. They are DELICIOUS! So soft on the inside and covered with a thin layer of white chocolate. They melt in your mouth. If you like lemon desserts, you won’t be able to resist them.
Ingredients

- lemon cake mix
- lemons for lemon zest and juice
- lemon frosting (You can use store-bought frosting or make my vanilla buttercream, lemon variation. See variations in the table of contents and make half of the recipe. You will still have frosting left over. You can make more cake pops or cupcakes to frost!)
- vegetable shortening
- vanilla candy melts, any color
- sprinkles or nonpareils, optional
See recipe card for quantities.
Instructions

Zest about 1 1/2 lemons to make 1 tablespoon of zest.

Use a lemon juicer to juice the lemons until you have 1/2 cup of lemon juice; about 3-4 lemons, depending on their size.
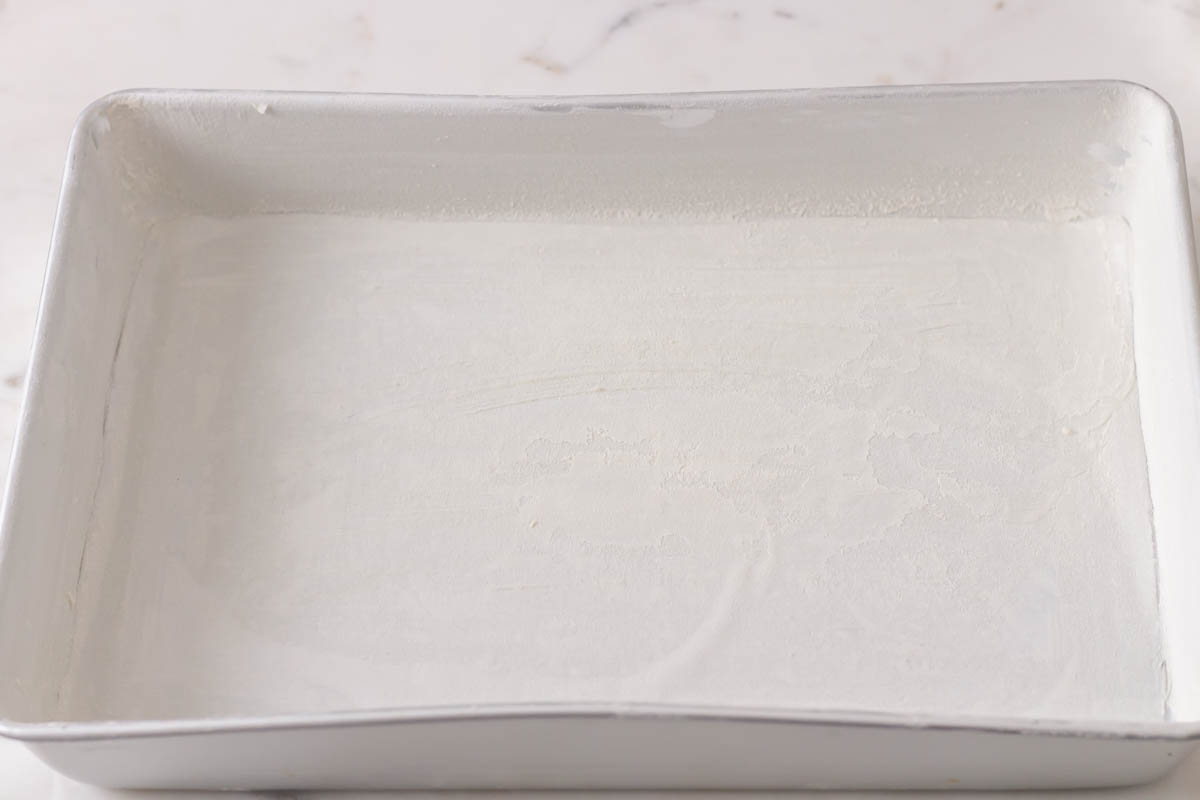
Prepare cake pan to bake the cake mix.

Bake cake according to the instructions on your cake mix. Replace 1/2 cup of the water the mix calls for with 1/2 cup of lemon juice. (Some cake mixes call for only 1/2 cup of water. You would just replace all of the water with lemon juice. My mix called for 1 cup of water, so I replaced 1/2 cup of the water with 1/2 cup of lemon juice.) Add the lemon zest at the end.
*Important*
When adding the zest, add it in a little bit at a time while mixing. It tends to clump together. After you’re done mixing, make sure all of the zest is off of the mixer paddle and mixed in.

When cake is completely cool, transfer to a large mixing bowl and crumble with your clean hands.

Make sure there are no large lumps of cake left in the bowl and it is completely crumbled.

Add 3-4 tablespoons of lemon frosting to the cake. (You want to add enough of the frosting so the cake sticks together.)

Start mixing in the frosting with a large fork.

Finish mixing the cake and the frosting with your clean hands until fully incorporated and no longer crumbly.

Line two cookie sheets with parchment or waxed paper.

Make a large cake ball with your hands that is a little bigger than the cake ball former.
If you don’t have a cake pop former, not to worry. You can roll the balls with your hands. If you want the cake pops to be uniform in size, you can use a cookie scoop or a tablespoon measuring spoon to measure out the cake balls.

Put the ball into the former. You want it to be bigger than the former.

Squeeze the cake pop former together.

Remove the extra cake from around the former.

Open cake pop former and place pop on the cookie sheet.

Repeat making pops in the former until all of the cake is gone, placing each one on the prepared cookie sheets.
Freeze cake pops for 15 minutes.

Add candy melts and vegetable shortening to a large, glass measuring cup, or a deep microwave-safe bowl. You can also use a large, tall microwave-safe glass.

Melt candy and vegetable shortening in the microwave for 20-second increments until completely melted. Stir in between each 20-minute increment.

Remove the cake pops from the freezer. Transfer the cake pops to the refrigerator and leave out 5-10 for dipping at a time.

Start by taking a lollipop stick and dipping it about 1/2-inch into the melted candy.

Insert stick halfway into the cake pop.

Lower cake pop all the way into the melted candy in one motion and then pull up. You do not want to dip more than once. If there is too much candy on the pops, they may be too heavy and come off of the stick.
It’s important to add the vegetable shortening when melting the candy because it thins out the candy so it isn’t too thick.

After pulling the cake pop out of the melted candy, you’re going to tap the wrist that is holding the cake pop to remove the excess melted candy. Tap until a lot of the candy has come off.

Continue to hold the cake pop over the candy bowl until you see that it has almost stopped dripping. I usually count 30-60 seconds.

The cake pop is ready to decorate.

Hold cake pop over the nonpareils or sprinkles and add a little bit at a time with your fingers until decorated the way you want it.

Place decorated cake pop onto a cake pop stand or a styrofoam block.

Continue dipping cake pops and decorating until finished. Let the cake pops dry for about 1 hour before serving or storing.
Hint: If you don’t have a cake pop holder or a styrofoam base, you can use any cardboard box. Poke small holes into the box a little smaller than the cake pop sticks to hold them snuggly.
Substitutions
- Almond bark can be used instead of candy melts. Add 1/2 tablespoon of shortening per 12 ounces of the almond bark.
- Regular chocolate can be used instead of candy melts but it will need to be tempered. If the chocolate is not tempered, it will look dull and have a chewier texture. If using chocolate, add 1/2 tablespoon of shortening per 12 ounces of chocolate.
Variations
- Different flavors – you can use different cake flavors and frostings. The sky’s the limit!
- Different flavors of candy – candy melts come in different flavors. Or you can use different flavors of chocolate or almond bark.
- Different colors – candy melts come in different colors to change up the look of your cake pops. If you want to change the color of your white candy melts, only use colors made specially to color candy. If you use regular food coloring, it will seize your chocolate or candy melts.
- Decorations – add different kinds of sprinkles in different colors.
Equipment
- 9 x 13-inch cake pan
- 2 cookie sheets
- waxed paper
- citrus zester
- small juicer
- 30 6-inch cake pop sticks
- electric stand or hand mixer
- large mixing bowl
- large, glass measuring cup or a deep microwave-safe bowl
- 1.38″ cake pop former
- cake pop stand or styrofoam base
Storage
Store cake pops at room temperature in an airtight container or sealed food storage bag for up to 1 week.
Cake pops can be frozen for up to 3 months in an airtight freezer bag or container.
Top tip
After dipping your cake pop, continue to hold the cake pop over the candy bowl until you see that it has almost stopped dripping. I usually count 30-60 seconds. If you don’t, you will have melted candy dripping down the sticks. If this does happen, simply wait for the cake pops to dry and scrape the melted drips off of the stick.
Related
Looking for other dessert recipes? Try these:

Lemon Cake Pops
- 9 x 13-inch cake pan
- 2 cookie sheets
- waxed paper
- citrus zester
- small juicer
- 30 6-inch cake pop sticks
- Electric stand or hand mixer
- large mixing bowl
- glass measuring cup or a deep microwave-safe bowl
- 1.38" cake pop former
- cake pop stand or styrofoam base
- 1 lemon cake mix
- 1/2 cup fresh lemon juice
- 1 tablespoon lemon zest
- 4 tablespoons lemon frosting You can use store-bought frosting or make my vanilla buttercream lemon variation. See variations in the table of contents on my "Best Vanilla Buttercream" post and make half of the recipe. You will still have frosting left over. You can make more cake pops or cupcakes to frost!
- 1/2 tablespoon vegetable shortening
- 12 ounces vanilla candy melts any color
- sprinkles or nonpereils optional
- Zest about 1 1/2 lemons to make 1 tablespoon of zest.
- Use a lemon juicer to juice the lemons until you have 1/2 cup of lemon juice; about 3-4 lemons, depending on their size.
- Prepare cake pan to bake the cake mix.
- Bake cake according to the instructions on your cake mix. Substitute 1/2 cup of the water the mix calls for with 1/2 cup of lemon juice. (Some cake mixes call for only 1/2 cup of water. You would just replace all of the water with lemon juice. My mix called for 1 cup of water, so I replaced 1/2 cup of the water with 1/2 cup of lemon juice.) Add the lemon zest at the end.*Important* When adding the zest, add it in a little bit at a time while mixing. It tends to clump together. After you're done mixing, make sure all of the zest is off of the mixer paddle and mixed in.
- When cake is completely cool, transfer to a large mixing bowl and crumble with your clean hands.
- Make sure there are no large lumps of cake left in the bowl and it is completely crumbled.
- Add 3-4 tablespoons of lemon frosting to the cake. (You want to add enough of the frosting so the cake sticks together.)
- Start mixing in the frosting with a large fork.
- Finish mixing the cake and the frosting with your clean hands until fully incorporated and no longer crumbly.
- Line two cookie sheets with parchment or waxed paper.
- Make a large cake ball with your hands that is a little bigger than the cake ball former.
- If you don’t have a cake pop former, not to worry. You can roll the balls with your hands. If you want the cake pops to be uniform in size, you can use a cookie scoop or a tablespoon measuring spoon to measure out the cake balls.
- Put the ball into the former. You want it to be bigger than the former.
- Squeeze the cake pop former together.
- Remove the extra cake from around the former.
- Open cake pop former and place pop on the cookie sheet.
- Repeat making pops in the former until all of the cake is gone, placing each one on the prepared cookie sheets.
- Freeze cake pops for 15 minutes.
- Add candy melts and vegetable shortening to a large, glass measuring cup, or a deep microwave-safe bowl. You can also use a large, tall microwave-safe glass.
- Melt candy and vegetable shortening in the microwave for 20-second increments until completely melted. Stir in between each 20-minute increment.
- Remove the cake pops from the freezer. Transfer the cake pops to the refrigerator and leave out 5-10 for dipping at a time.
- Start by taking a lollipop stick and dipping it about 1/2-inch into the melted candy.
- Insert stick halfway into the cake pop.
- Lower cake pop all the way into the melted candy in one motion and then pull up. You do not want to dip more than once. If there is too much candy on the pops, they may be too heavy and come off of the stick.It's important to add the vegetable shortening when melting the candy because it thins out the candy so it isn't too thick.
- After pulling the cake pop out of the melted candy, you’re going to tap the wrist that is holding the cake pop to remove the excess melted candy. Tap until a lot of the candy has come off.
- Continue to hold the cake pop over the candy bowl until you see that it has almost stopped dripping. I usually count 30-60 seconds.
- The cake pop is ready to decorate.
- Hold cake pop over the nonpareils or sprinkles and add a little bit at a time with your fingers until decorated the way you want it.
- Place decorated cake pop onto a cake pop stand or a styrofoam block.
- Continue dipping cake pops and decorating until finished.
- Let the cake pops dry for about 1 hour before serving or storing.
- Serve and enjoy!

Ever since I made cake pops for the first time, my kids have been begging for them. I have to be honest, they were SO much better than I ever expected. They are seriously addictive!
If you try my recipe, I would love to hear from you in the comments below.
Sweet regards,
Michele
Cake pops inspired by Bakerella.